Wednesday 26 November 2014

From one extreme to the other

In my last post I wrote about moving our homebrewing to a new level with the production of a sour ale. Well since then we’ve been aiming to brew a simple English bitter for consumption at Christmas to compliment our Robust Porter and Christmas Unusual spiced ale that are currently maturing. But the pressures of work and other pre-Christmas activities means that I don’t think we will find the time. All-grain brewing is a time-consuming business – it takes us 5-6 hours on brew day.

So, on a whim, I bought a homebrew kit today! I haven’t made a beer kit since our very first brew, back in May 2010. But I thought “what the hell!”. It’d be nice to have a lighter beer in stock for the Christmas period, and anyway it’d be interesting to ferment a kit using the knowledge and equipment we have gathered over the last four years.

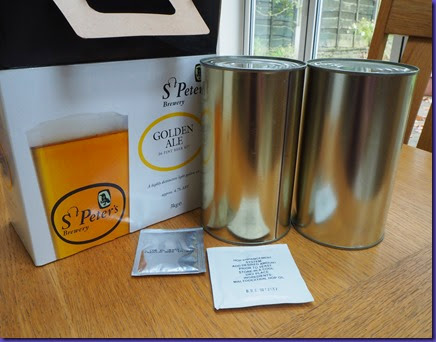
So I purchased a St Peter’s Golden Ale kit.

PB220003

It’s dead quick and easy to put it all together, but there are a few things I did out of habit that were NOT mentioned in the very brief instructions on the box:

  1. Re-hydrate the yeast. It helps to get the dry yeast into liquid form before you dump it into sugary wort. Supposedly the osmotic pressure of rehydrating yeast in sugary wort can damage the yeast.
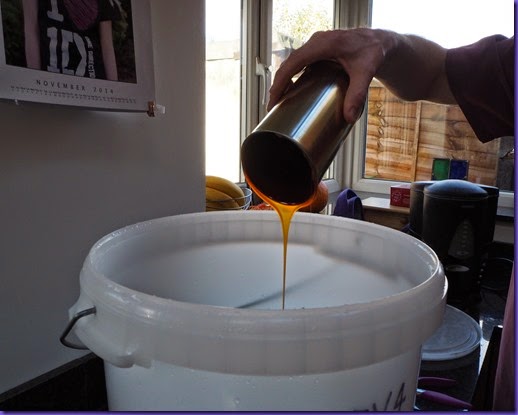
  2. Oxygenate the wort. Yeast needs oxygen to multiply, which is the first thing they do before making alcohol. Our wort usually gets oxygenated by pouring it from a height from the boiler into the fermenter. So with this kit I was vigorous with the mixing of the malt extract and water.
  3. Fermentation temperature. I am coming to the view that this is critical to the flavour you get in the finished beer. Warmer fermentations produce more fruity and fatter flavours. Cooler fermentations produce cleaner, less cluttered flavours. I like to ferment my ales at 18C, which is tricky because the house is 1-2C warmer than that. The garage is too cold (and the temperature fluctuates too much), so I use a fridge with a temperature controller to make sure the temperature is dead on.

I shall be interested to see how it comes out. Hopefully, served through my beer engine, it will be a nice clean bitter. We’ll see.

Meanwhile, the difference in the cost between all-grain and kit brewing interests me. This kit cost £24. That’s the total cost, apart from boiling the kettle a few times.

Here’s a rough breakdown of the cost of an all-grain batch:

  • 5kg malt £7.50
  • 50g hops £2.50
  • Safale S-04 yeast £3
  • Running the boiler (2kW for ~2 hours) 60p
  • 12 man-hours (myself and Andy for six hours) Priceless

So that makes £13.60. I think St Peter’s and the retailer have some profit factored in there, even after the cost of packaging and distribution…
PB220004PB220005PB220006

Saturday 22 November 2014

Flanders Red–Belgian Sour Ale

We recently moved our homebrewing to a whole new level. We’ve made many ales, a few lagers, but never a sour beer.

To get started we used a recipe for a Flanders Red Ale from Brewing Classic Styles by Jamil Zainasheff. This is basically along the lines of the beers made by Rodenbach in Roeselare in Belgium. The beer is fermented with both yeast and various bacteria strains that give the distinctive sourness and complex flavours.

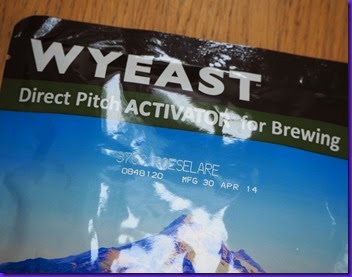
So what’s different from the way you make a regular ale? Well, firstly you need the right combination of both yeast and bacteria. One of the reasons we chose this recipe is because you can get the whole lot blended in one pack from WYeast, called, funnily enough, “Roeselare Blend”.

PB100001

What else? Well the fermentation lasts for a year. Initially the yeast ferment most of the sugars, then over the remaining months the bacteria consume what is left. The different types of bacteria produce both lactic acid, which gives a soft sourness, and acetic acid (vinegar), which gives a sharper sourness. It is important to get the balance right – too much acetic acid will make the beer challenging to drink. Both temperature and oxygen levels affect the level of activity of the different bacteria strains. What we need to aim for is a small amount of oxygen, and a moderate temperature (18C – 20C) to give a steady fermentation.

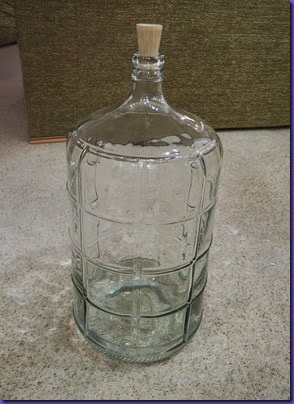
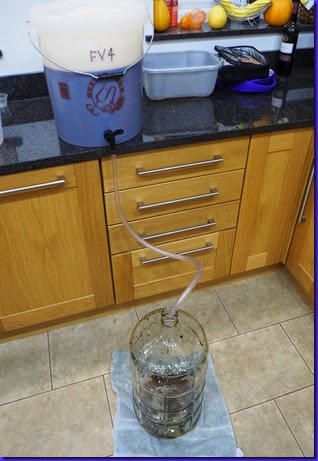
If you ferment the beer in a plastic fermenter (aka bucket) you get oxygen going into the beer: plastic is permeable to oxygen. So you need to ferment in glass rather than plastic. So I invested in a 6 gallon carboy. (This is a bugger to move around – it’s heavy and would smash or chip very easily!)

PB100003

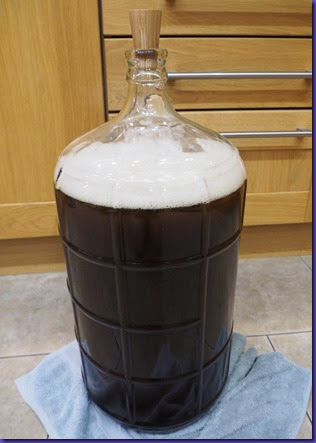
You’ll see in the photo that we used an oak peg rather than airlock (custom made by Andy’s personal cabinet maker – yes, really, every gentleman should have one!). This, we understand from Mr Zainasheff, will allow just the right amount of oxygen into the beer to emulate the oak barrels used by commercial breweries.

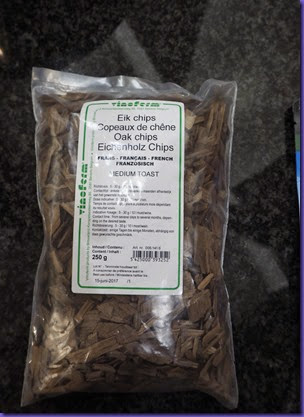
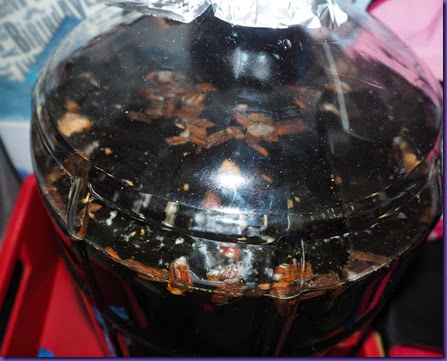
Anything else different? Yes, we also used toasted oak chips, which again emulates the oak barrels used by commercials breweries.

PB100005

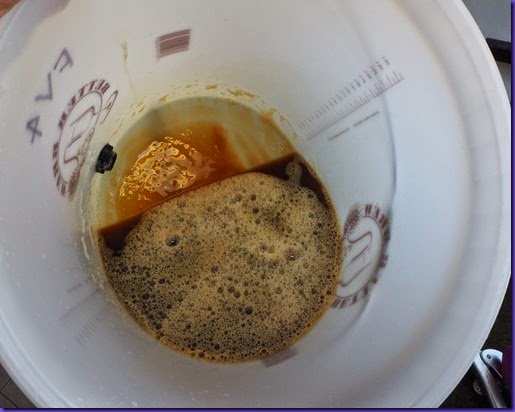
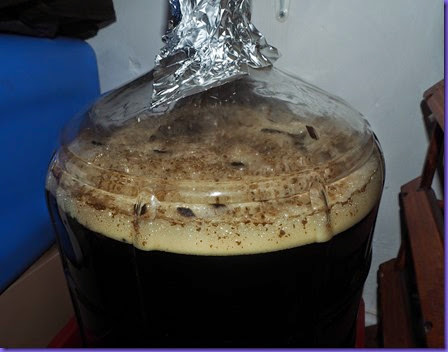
As the beer ferments it is supposed to form a pellicle on the surface. This is a grim-looking white mat produced by the bacteria. Have a look here for the sort of thing I mean. This hasn’t happened yet – at the moment the fermentation is too active and the surface too bubbly (see the last photo below).

Apparently the pellicle sinks back into the beer when the fermentation is done. This is the cue to rack and bottle the beer, but takes a year or so.

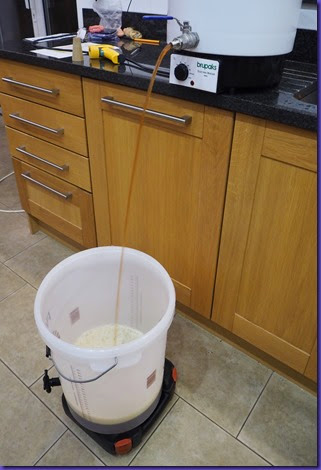
Below are a few more photos from brew day. I guess I’ll post again about it, but not any time soon!

PB100006PB100009PB100013PB150024PB160038