Tuesday 25 October 2011

Mash Tun

The brewing process has about four major stages:

  • Mix the malted grain with hot water and hold it at about 66oC for about an hour – this allows the enzymes in the malt to convert the starches to fermentable sugars and is called mashing;
  • Run the liquid off the “mash”, and run through more hot water to wash out all the remaining sugars. This is called sparging;
  • Boil the “wort” with hops for an hour or so. This sterilises the wort, extracts bitterness from the hops and can develop some rich toasted flavours (the maillard reaction, as in cooking);
  • Chill the wort, add yeast and ferment.

To perform the first step you need a “mash tun”, which is an insulated vessel in which you can hold the grain and water whilst the reactions take place, and which has a filter at the bottom so you can run off the liquid and leave the grain undisturbed – you don’t want to get particles from the grain into the beer because it will affect clarity.

The filter at the bottom of the mash tun is the tricky bit for home brewers – it’s not really a piece of equipment that you have hanging around in the kitchen. So before Andy and I could start all-grain brewing we had to make one.

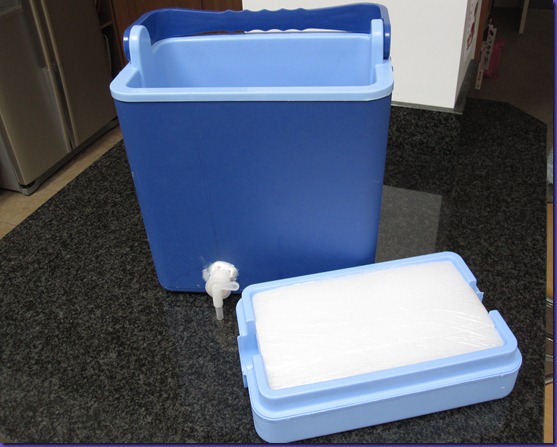
You can buy fancy stainless steel mash tuns if you like, but a popular cheap option is to make (or buy) one from a cool box. I picked up the cheapest cool box I could (£12 from Tesco) and we set about attacking it with a drill.

IMG_9535

As you can see, we drilled through the inner and outer plastic and fitted a plastic tap which we then sealed with food grade silicone sealant.

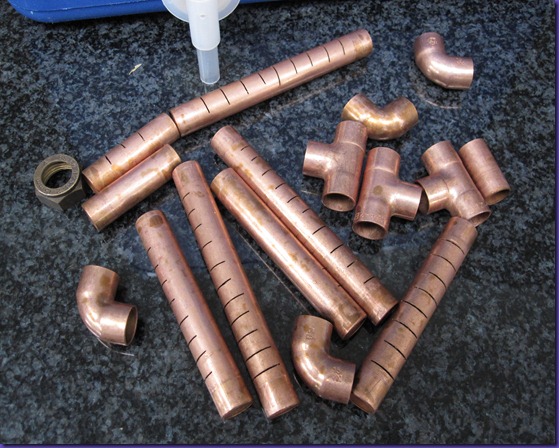
Then we took a regular piece of copper pipe and some corner and T-pieces:

IMG_9536

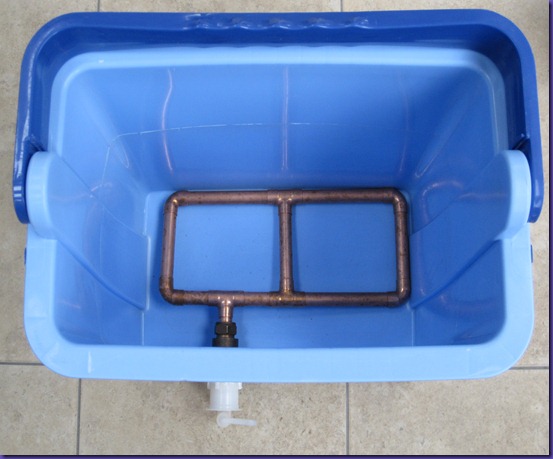
We sawed slits in each piece of pipe to allow liquid to drain through. This fits together like this:

IMG_9537

This then fits inside the cool box with the slits downwards:

IMG_9538

That’s it really. We left all the pieces of pipe un-soldered to make them easier to take apart and wash. Also solder contains lead which we didn’t really want in our mash very much.

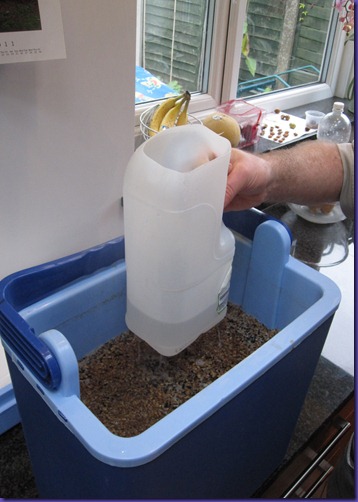
On brew day we fill the mash tun with the “strike water” – at about 75oC. We let this sit and warm the mash tun until it is down to about 72oC when we “mash in” – mix in the grain.

IMG_0492

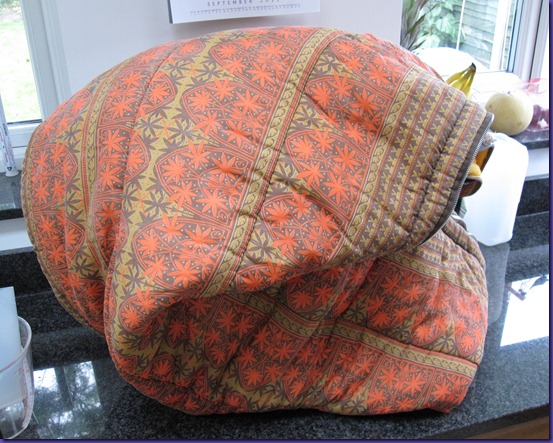
After a quick stir and check of the temperature (which should now be 66oC to 68oC depending on our recipe) we put on the lid, wrap it all in a special high tech lagging device (sleeping bag) and leave it for an hour.

IMG_9542

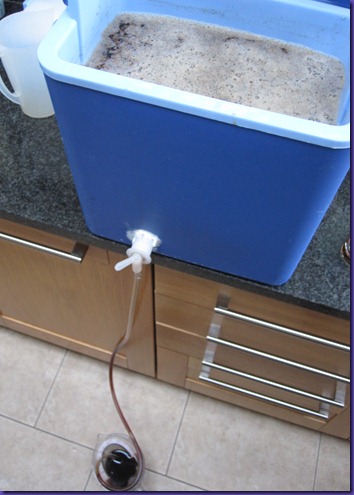
After the hour we start running off the wort:

IMG_9544

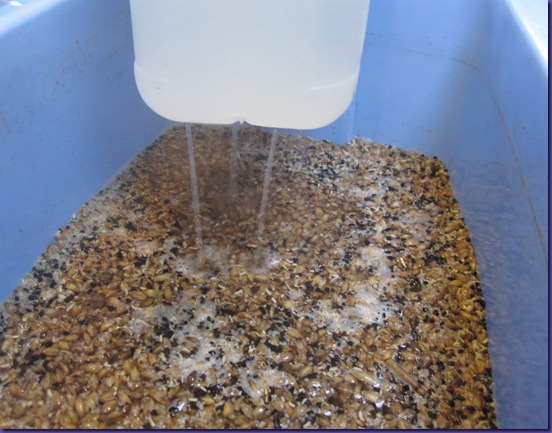
And then “sparging” (gently pouring hot water onto the top of the grain bed) using another very high tech device from the diary industry:

IMG_9547

IMG_9548

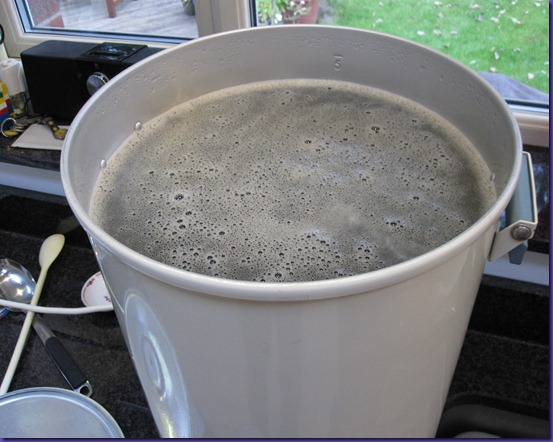
And there you have it – five gallons of wort ready for boiling:
IMG_9550

Monday 24 October 2011

Weizenbock

Regular readers will know that we recently brewed a dark Bavarian wheat beer (a dunkelweizen), which we are currently still drinking and seems to be getting thicker and bananaier (is that a word?) by the day.

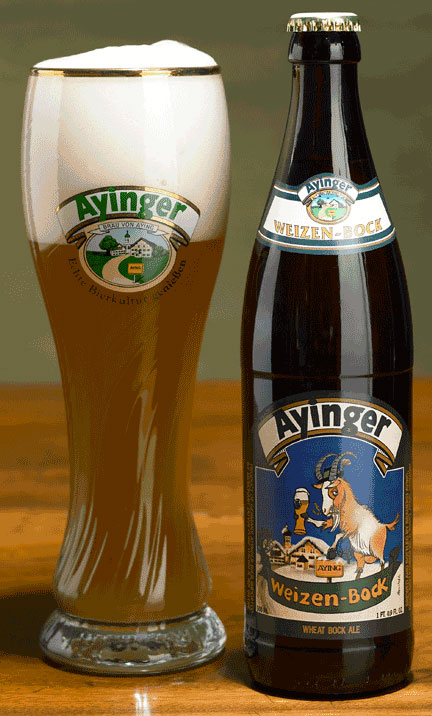
This was pretty successful and we skimmed some of the wheat ale yeast off during the fermentation. It seems a bit of a shame not to use that yeast before it goes off, so we looked into what other wheat beers we could brew. The obvious choice was a Weizen/Weissbier, but this is more a lighter summer drink. The other option was a weizenbock, which combines the dark flavours of a dunkelweizen with the rich strength and body of a German bock (a strong rich malty lager from Munich).

So that’s what we’re brewing on Friday. I picked up the wheat malt that the recipe requires from a homebrew shop today that I had not been to before. Slightly bizarre experience – the lad in there obviously didn’t know what malt is made from because when I asked for wheat malt he tried to sell me spray malt (which is dried malt extract). I said “no, wheat malt”. To which he said all malt is made from wheat (sigh, I reminded him that most malt is made from barley). But eventually he realised I wanted grain, and took me into the back which turned out to be a small brewery. The brewing gods had obviously smiled on me because there sat a sack labelled “Thomas Fawcett Wheat Malt”. Five minutes later I was off down the road with two bags containing totally un-weighed wheat malt scooped directly from the Fawcett’s sack. I assume I’ve got enough, but we’ll have to see on Friday!

Sunday 16 October 2011

Why does it have to be so clear?

We tasted the Dunkelweizen this week and we’re delighted with it. It has a deep rich complex malty flavour, and yes, those banana and clove flavours are noticeable (especially the banana, which Ian had a bit of trouble with!). In fact I’d go so far as to say it is pretty similar to the Erdinger Dunkel that originally inspired us.

If I’m being picky, there are a few “observations”:

  • It needed to be colder (we can fix that)
  • It needed more carbonation (we can fix that too)
  • Andy’s observation: “Why does it have to be so clear?”

On the latter one, we’ve been on a “quest for clarity” for a while now: many of our recent ales have been disappointingly hazy. As soon as we make a brew that is supposed to be hazy, it comes out clearer than our ales. Which does make me think our yeast might be the cause. We’ve used different yeast (Safale S04) in the Knutsford Brown Ale. It’ll be interesting to see if there’s any difference.

Tuesday 11 October 2011

Knutsford Brown Ale

Andy and I both (separately) encountered Burton Bridge Brewery’s Staffordshire Knot Brown Ale recently, and it reminded us how much we like this little-loved British style. The Burton Bridge example was delicious – rich, sweet, fruity and smooth. Everything you want to warm you on these shorter days.
So we set about planning our own version. Initially I looked at Jamil Zainasheff’s recipes in Brewing Classic Styles. It’s interesting how our American Cousins like to categorise things. They have an organisation called the Beer Judge Certification Program (BJCP), who seem to exist to categorise and sub-categorise beer. I thought brown ale was brown ale, but apparently there is Southern English Brown Ale and Northern English Brown Ale! The main difference is that Southern Browns have lower alcohol content and are significantly darker than Northern Browns. There are very few commercial examples of Southern Browns left – the only one I can find mention of is Mann’s Brown Ale. There are a fair few Northern Browns of course, such as Samuel Smith’s Nut Brown Ale, Newcastle Brown Ale and Wychwood Hobgoblin (although that last one surprised me). Incidentally the BJCP also classify Mild as a sub-category of Brown Ale.
Anyway, taxonomies apart, what are we going to brew? Well I toyed with the idea of brewing something close to Jamil’s Southern English Brown recipe, but annoyingly (maybe ironically) you can’t get all the malts needed for that recipe in the UK! In particular it uses a malt called “special roast”, which I cannot find in the UK – it seems to be made by one particular US maltster.
Then I found the basics of a recipe for the Burton Bridge Staffordshire Knot Brown Ale. It wasn’t all there, but there was enough to build our own version. And that’s what Andy and I brewed last night. We have high hopes that this will be a rich, malty and warming winter ale, and one that we can brew again and again.
Like the name, by the way?