Wednesday 26 November 2014

From one extreme to the other

In my last post I wrote about moving our homebrewing to a new level with the production of a sour ale. Well since then we’ve been aiming to brew a simple English bitter for consumption at Christmas to compliment our Robust Porter and Christmas Unusual spiced ale that are currently maturing. But the pressures of work and other pre-Christmas activities means that I don’t think we will find the time. All-grain brewing is a time-consuming business – it takes us 5-6 hours on brew day.

So, on a whim, I bought a homebrew kit today! I haven’t made a beer kit since our very first brew, back in May 2010. But I thought “what the hell!”. It’d be nice to have a lighter beer in stock for the Christmas period, and anyway it’d be interesting to ferment a kit using the knowledge and equipment we have gathered over the last four years.

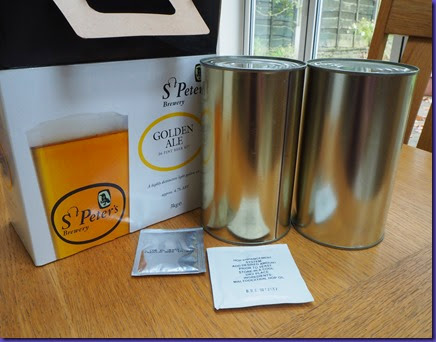
So I purchased a St Peter’s Golden Ale kit.

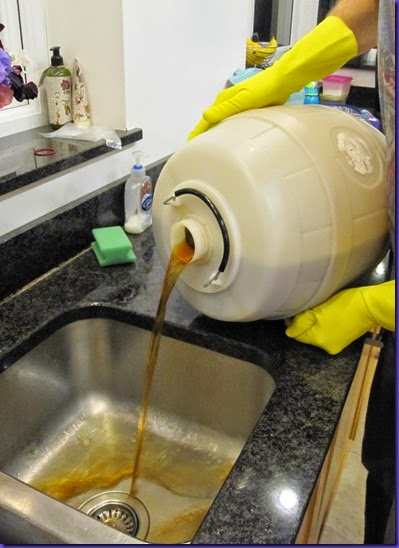
PB220003

It’s dead quick and easy to put it all together, but there are a few things I did out of habit that were NOT mentioned in the very brief instructions on the box:

  1. Re-hydrate the yeast. It helps to get the dry yeast into liquid form before you dump it into sugary wort. Supposedly the osmotic pressure of rehydrating yeast in sugary wort can damage the yeast.
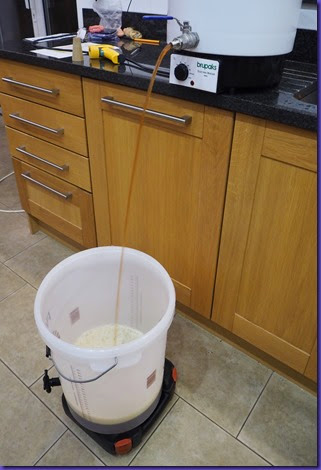
  2. Oxygenate the wort. Yeast needs oxygen to multiply, which is the first thing they do before making alcohol. Our wort usually gets oxygenated by pouring it from a height from the boiler into the fermenter. So with this kit I was vigorous with the mixing of the malt extract and water.
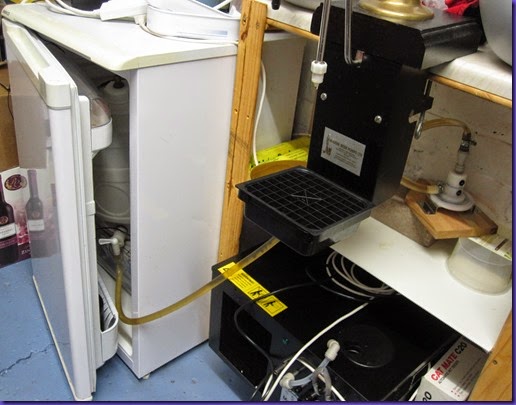
  3. Fermentation temperature. I am coming to the view that this is critical to the flavour you get in the finished beer. Warmer fermentations produce more fruity and fatter flavours. Cooler fermentations produce cleaner, less cluttered flavours. I like to ferment my ales at 18C, which is tricky because the house is 1-2C warmer than that. The garage is too cold (and the temperature fluctuates too much), so I use a fridge with a temperature controller to make sure the temperature is dead on.

I shall be interested to see how it comes out. Hopefully, served through my beer engine, it will be a nice clean bitter. We’ll see.

Meanwhile, the difference in the cost between all-grain and kit brewing interests me. This kit cost £24. That’s the total cost, apart from boiling the kettle a few times.

Here’s a rough breakdown of the cost of an all-grain batch:

  • 5kg malt £7.50
  • 50g hops £2.50
  • Safale S-04 yeast £3
  • Running the boiler (2kW for ~2 hours) 60p
  • 12 man-hours (myself and Andy for six hours) Priceless

So that makes £13.60. I think St Peter’s and the retailer have some profit factored in there, even after the cost of packaging and distribution…
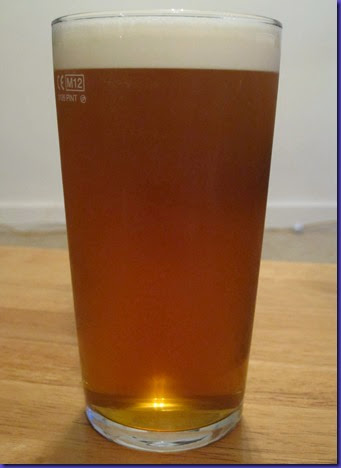
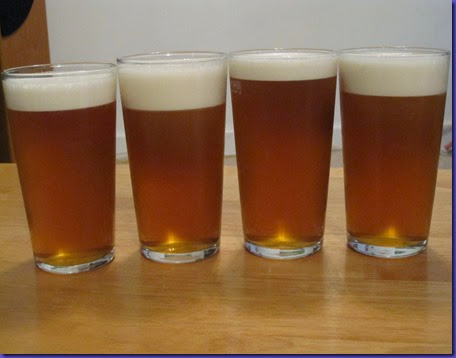
PB220004PB220005PB220006

Saturday 22 November 2014

Flanders Red–Belgian Sour Ale

We recently moved our homebrewing to a whole new level. We’ve made many ales, a few lagers, but never a sour beer.

To get started we used a recipe for a Flanders Red Ale from Brewing Classic Styles by Jamil Zainasheff. This is basically along the lines of the beers made by Rodenbach in Roeselare in Belgium. The beer is fermented with both yeast and various bacteria strains that give the distinctive sourness and complex flavours.

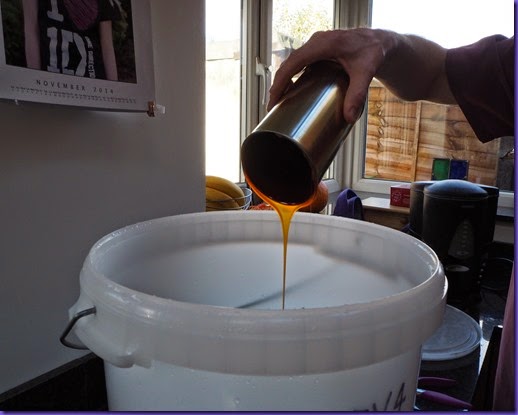
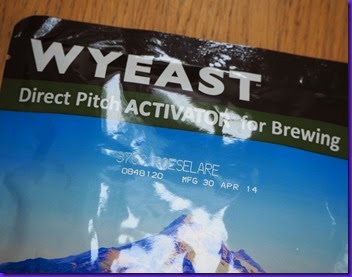
So what’s different from the way you make a regular ale? Well, firstly you need the right combination of both yeast and bacteria. One of the reasons we chose this recipe is because you can get the whole lot blended in one pack from WYeast, called, funnily enough, “Roeselare Blend”.

PB100001

What else? Well the fermentation lasts for a year. Initially the yeast ferment most of the sugars, then over the remaining months the bacteria consume what is left. The different types of bacteria produce both lactic acid, which gives a soft sourness, and acetic acid (vinegar), which gives a sharper sourness. It is important to get the balance right – too much acetic acid will make the beer challenging to drink. Both temperature and oxygen levels affect the level of activity of the different bacteria strains. What we need to aim for is a small amount of oxygen, and a moderate temperature (18C – 20C) to give a steady fermentation.

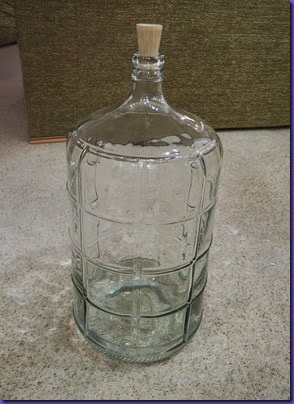
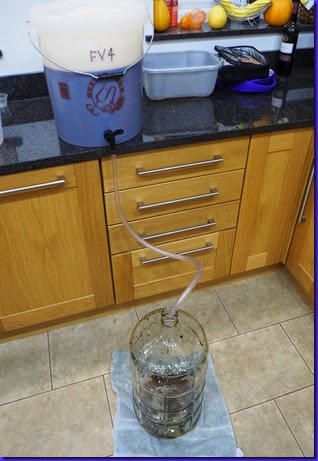
If you ferment the beer in a plastic fermenter (aka bucket) you get oxygen going into the beer: plastic is permeable to oxygen. So you need to ferment in glass rather than plastic. So I invested in a 6 gallon carboy. (This is a bugger to move around – it’s heavy and would smash or chip very easily!)

PB100003

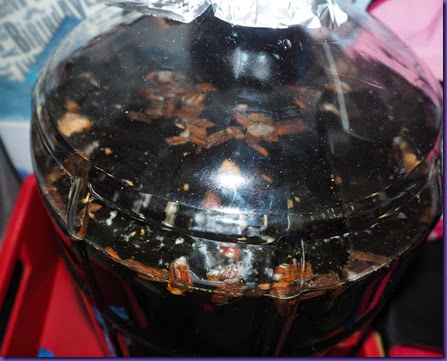
You’ll see in the photo that we used an oak peg rather than airlock (custom made by Andy’s personal cabinet maker – yes, really, every gentleman should have one!). This, we understand from Mr Zainasheff, will allow just the right amount of oxygen into the beer to emulate the oak barrels used by commercial breweries.

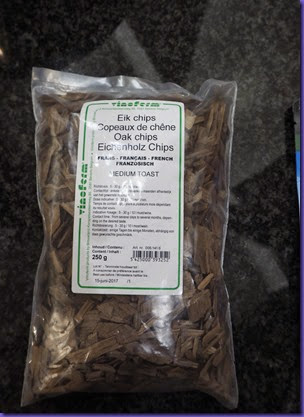
Anything else different? Yes, we also used toasted oak chips, which again emulates the oak barrels used by commercials breweries.

PB100005

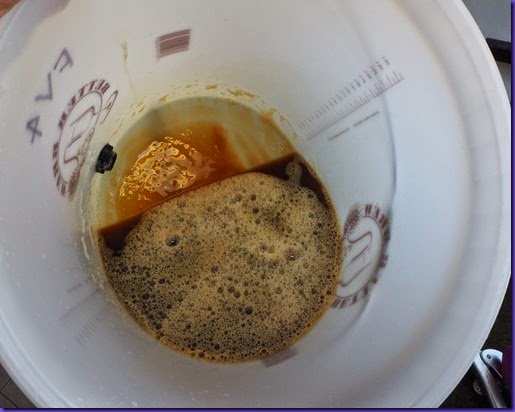
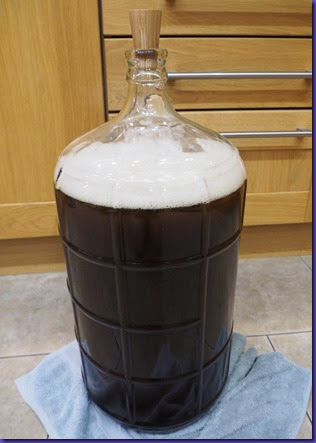
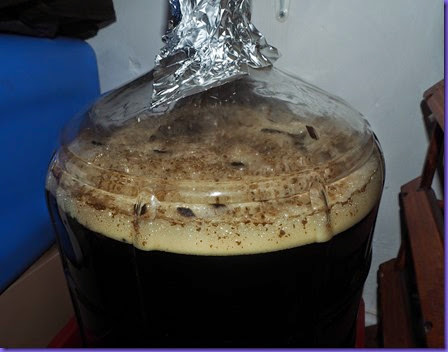
As the beer ferments it is supposed to form a pellicle on the surface. This is a grim-looking white mat produced by the bacteria. Have a look here for the sort of thing I mean. This hasn’t happened yet – at the moment the fermentation is too active and the surface too bubbly (see the last photo below).

Apparently the pellicle sinks back into the beer when the fermentation is done. This is the cue to rack and bottle the beer, but takes a year or so.

Below are a few more photos from brew day. I guess I’ll post again about it, but not any time soon!

PB100006PB100009PB100013PB150024PB160038

Monday 6 October 2014

Polypin

At Cheshire Peaks we put most of our beer into barrels. Well actually they are plastic kegs with a pressure valve on the top. My preferred type is a King Keg.

IMG_4207

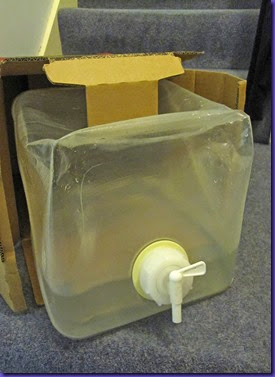
Recently however we were asked to brew a barrel of beer for a friend’s 40th birthday party. I knew I had to ship it over to her house on the day of the party and I was concerned about the unwieldy nature of a barrel. So I got a Polypin from my local homebrew store. Polypins are basically a large strong polythene bag with a tap that fits inside a special cardboard box. You can buy beer from local breweries in polypins these days if you need a large amount for a party.

When I serve beer from a barrel through the beer engine we eventually build up a vacuum over the beer because I don’t allow air in through the cap into the barrel. Every now and then I have to inject some carbon dioxide from a cylinder to replace the consumed beer, or the beer refuses to come out! Carbon dioxide keeps the beer from going stale.

The beauty of a polypin is that it just collapses as the beer is drawn out by the beer engine. So it allowed me to set up the polypin and beer engine before the party and basically leave it alone all night. I could have used a barrel and just allowed air in by opening the cap, but that would have meant that if any beer was left over it would stale very quickly.

Below are a few photos of the polypin. The first two are how it is now, full of cleaner and ready for re-use. The last two are how it looked after the last bit of beer had been drawn out – totally sucked in.

Saturday 27 September 2014

Pouring beer away

IMG_4984

Sigh. It had to happen sooner or later. To be fair, we’ve made seventy batches of beer now (the first being in May 2010) and this is the first time I have been forced to pour a barrel away.

What happened? Well this was a Rye IPA, which we made on 9th June. It was OK initially, but got overlooked by other more exciting beers like the CF103 trial. Fairly early on I had some problems with the rubber seal inside the barrel cap – it was old and had become a bit perished and warped so it did not fit snugly inside the cap. The photo below shows the replaced seal – the bright white ring. The faulty seal meant that I couldn’t get the cap to close properly and when beer was drawn from the barrel air was being drawn in at the top. It must have been more than I expected, because despite changing the seal the beer eventually went sour.

I have to admit that in the past we have drunk up at least one barrel that went a bit sour. I remember way back we made a Belgian Pale Ale, but souring resulted in a “rebranding exercise” to a “Belgian Sour”. Hmm. I think pouring it away and making a fresh batch is a better solution. It hurts a bit at the time, but I’d rather drink perfect beer. (And anyway, it gives me something to blog about!)

IMG_4988

Wednesday 3 September 2014

CF103 Trial Hop

We love experimenting with new ingredients. So when I spotted a bunch of trial hops at The Malt Miller I bought three different ones straight away.

The first one we tried was called “Bishop” and you can read about it here.

More recently, we have made a trial beer with a variety only known as “CF103” (although I have a suspicion that the final name will be “Duchess”). This hop was described only as “peppery, spicy, floral”.

We have a very simple recipe we use for trialling hops. It’s mainly maris otter pale ale malt, with a small amount of biscuit malt to give it a slightly richer bready flavour.

I was keen to use most of the hops at the end of the boil, ensuring that we got the best flavour and aroma that we could from the trial hops. So we used Northern Brewer hops for the bittering, saving all the CF103 for later in the boil.

I have recently become increasingly concerned about high fermentation temperatures (with it being summer and all that). I know English ales are fermented at reasonably high temperatures, but I am becoming convinced that if you want a clean uncluttered flavour you need to be fermenting at 18C, not 21C. Which makes a temperature controlled fridge essential kit, especially during summer. This brew was fermented at 18C throughout. I think this has made a considerable difference. The flavour is cleaner right from racking into the keg. In the past we’ve had “that homebrew taste” which we have only been able to get rid of through many weeks of maturation. (It’s probably diacetyl, which tends to be produced in the early stages of a rapid fermentation). The problem is many weeks of maturation result in loss of hop aroma, flavour and bitterness. It’s OK for a dark malty ale, but not a light hoppy beer.

OK, so what does CF103 taste like? In short, Boddingtons!! At the moment, because it is young, the beer has a strong hop aroma and flavour. There’s a straw-like aroma that is very reminiscent of Boddingtons. That goes through into the taste, and you get it very clearly in the “back-aroma” when you breathe out after swallowing.

So there’s an irony here. This beer in the closest we have managed to get to Boddingtons in terms of aroma, flavour and colour. And we weren’t even trying. (To read about our most recent attempt go here).

Andy has suggested that we should call this beer “Duchess of Strangeways”. :-)

IMG_4713IMG_4716

Tuesday 2 September 2014

Second attempt at making camembert

Back in March I went on a day course to learn how to make cheese. On the course we made three cheeses, one of which was camembert. (You can see me making the other cheese we learnt about here and here). The camembert came back with me after the course and I looked after it for a number of weeks, hoping it would grow the necessary mould on the surface and also develop a nice mature flavour.

It didn’t really work as I had hoped. Despite having the luxury of a temperature controlled fridge (used for the beer making) so I was able to hold the cheese at exactly 12C whilst the mould developed... it didn’t. After a lot of fussing and worrying, I ended up with some rather hideous cheese with green and orange mould on it.

IMG_4173

I was terrified about eating it – and especially giving it to anyone else. I didn’t want a case of listeriosis on my conscience! In fact we did try just a tiny tiny bit – it had been matured for so long it tasted like a real stinking Roquefort.

IMG_4175

Hmm. So for many months, despite investing in rennet, culture and penicillin mould, I just avoided the idea of trying again.

Until ten days ago. I had a Saturday afternoon free, and so I decided to bite the bullet. But this time, because it was in my own kitchen with my own ingredients, I would take complete control over sanitation, so I could be as sure as possible that the cheese was safe to eat.

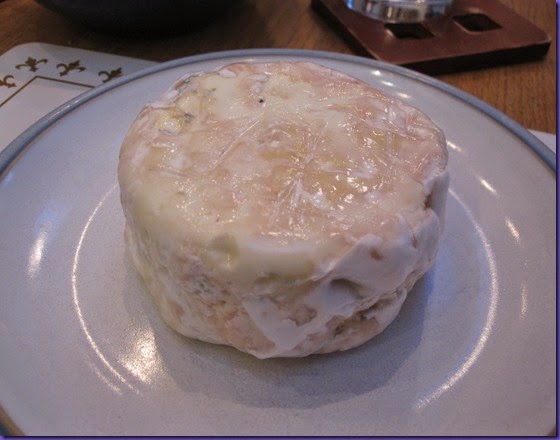
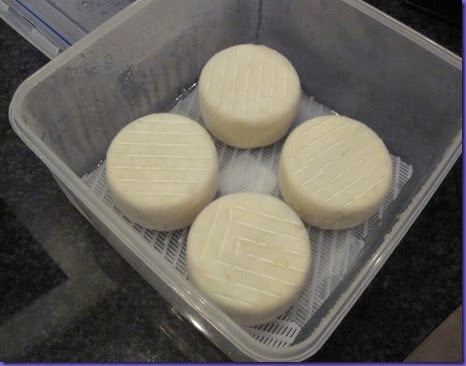
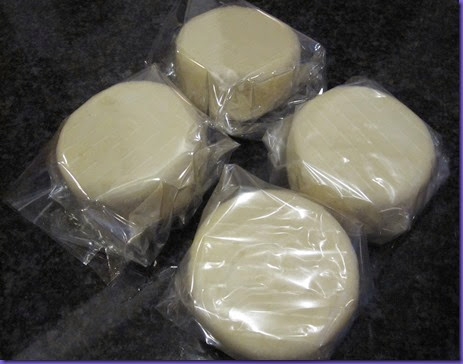
Well I’m pleased to report that the cheese making day went well, and over the last ten days the cheeses have been in the fridge at 12C. Four days ago the mould started to appear – this time it was fresh, white and evenly coated. Success!

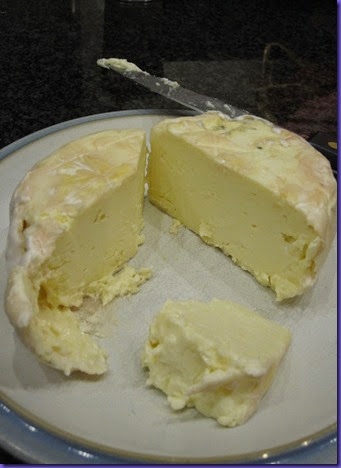
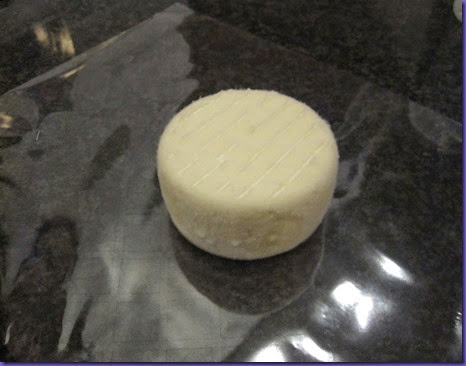
So today the cheeses have been wrapped and will be chilled down to 4C to allow them to mature a little longer. I won’t be waiting as long as last time though. I know now that 8-10 weeks maturing makes a very stinky cheese! I made four, so I’ll be trying one a week from next weekend and seeing how the flavour progresses.

The photos below are of the new batch.

IMG_4703IMG_4705IMG_4706

Tuesday 15 July 2014

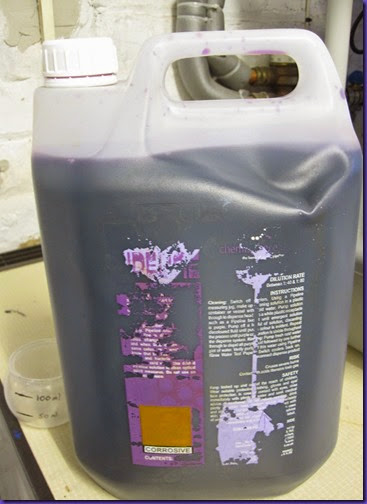
Purple Line Cleaner

My mate David, who knows about these things, said that I really should be using Purple Line Cleaner to clean my beer engine and pipes. I’m not in the pub business, so this was new to me – I knew there were chemicals for cleaning beer lines, but I’d never really investigated it in any detail.

We’ve always cleaned the beer engine by washing it out with warm water after use, and also washing it through before use to freshen it up. But I think this is resulting in the cylinder of the engine getting rather gunked up with beer residue – see my previous blog post showing it being taken apart and cleaned. (As an aside, this is one of the most popular blog posts of all time on my blog. Funny what traffic Google drives to your blog).

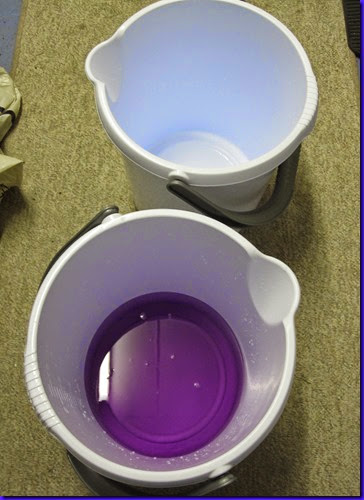
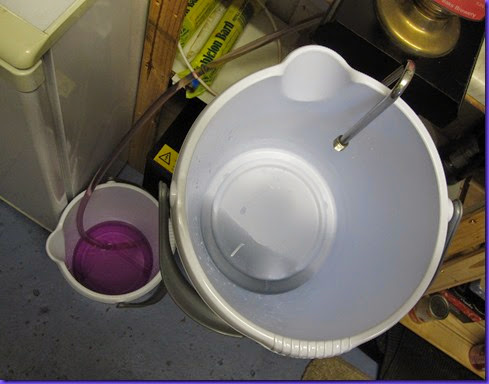
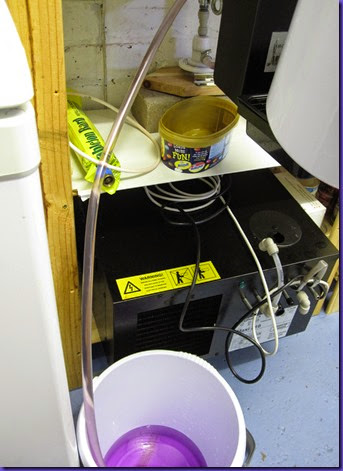
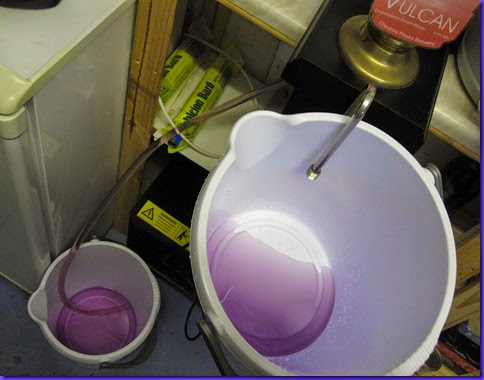
So, what’s the deal with purple line cleaner? Well you draw it through the beer engine and it cleans things of course. But the clever bit is that when it is still removing “dirt” from the engine and lines, the cleaner comes out a different colour. Once it comes out the same purple that it went in your lines are clean. Dead simple!

My purchase of the cleaner also resulted in me buying some dedicated white buckets so that I can see exactly what colour the cleaner is coming out.

Since this is kind of visual, I’ll leave you with a few photos. Note the greeny-grey cleaner coming out in the third photo (still dirty), and then the purple cleaner coming out in the final photo (clean!).

IMG_4211IMG_4212IMG_4213IMG_4214IMG_4215

Friday 11 July 2014

Wedding Commission–The Results

Regulars will remember that we recently took a commission to brew a barrel of beer for our neighbour’s son’s wedding. Well the big party was on Tuesday, and I can report that the beer went down extremely well. So well in fact, that it was all gone by 8.30pm! You can’t ask for better praise than that.

If you remember, we actually made two beers, and named them Vulcan and Buccaneer. Vulcan was a malty English bitter, whilst Buccaneer was a lighter bitter using American cascade hops.

To be brutally honest, the Buccaneer was a big disappointment. I think the hot weather affected the fermentation. It has a hot alcohol flavour, almost like pear drops. I was close to pouring it away, but it’s not quite that bad. But certainly for “office use only”.

So we were pinning our hopes on the Vulcan. I confess I was quite concerned about whether it would be OK, but as I have already said my fears were unfounded. It was a roaring success and everyone had a great evening.

I’ve actually taken another commission, for a friend’s 40th birthday party in September. I think maybe we should just re-brew the Vulcan!

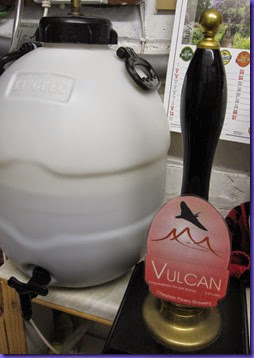
Vulcan Pump Clip

Friday 27 June 2014

Demand Valve

One of the best things I have ever bought is my beer engine. It allows me to serve home-made beer in my garage, but create a creamy rich head on the beer in a way that is usually only possible in pubs. My friend Andy sometimes comes round with a 2 litre pop bottle filled with his home-made beer, and we draw it through the beer engine and magically it turns into beer like you’d get from a pub.

The most popular post I have ever made on this blog was when I took my beer engine apart to clean it, and photographed the process.

However, all is not entirely well in the Cheshire Peaks beer serving arena, and it all comes down to how the beer is stored in our kegs. In a British pub, hand pulled ale comes from a cask. The publican will open the cask by knocking a peg through the hole in the top of the cask. This allows air to be drawn into the cask to replace the beer as it is served. The oxygen in the air eventually stales the beer, so a cask will generally need to be used in 3-4 days. Obviously at Cheshire Peaks we don’t drink quite that volume of beer. (“No???” I hear you ask…). So we need the beer to be replaced with carbon dioxide not air as the beer is drawn from the keg. I do this by injecting CO2 from time to time to keep a slight positive pressure over the beer.

The problem with a positive pressure is that it will force the beer from the keg when the tap is opened. If it’s quite a high positive pressure then we get the “self serving pint” – when you open the tap on the keg the beer forces itself through the beer engine without any pumping required. It’s not ideal and makes serving a pint a two man job: one to open the tap on the keg and the other to draw the pint.

There had to be a solution to this.

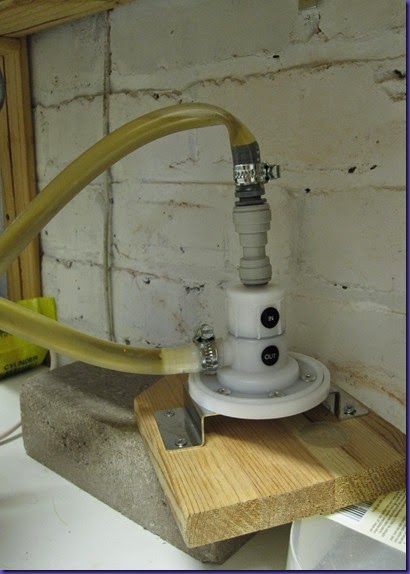
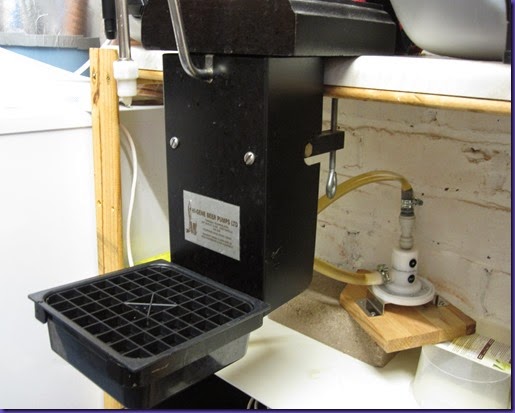
And there was. It turned out to be a “demand valve” (also called a “check valve”). This rather pricey gadget goes in the line between the keg and beer engine, and prevents the beer from forcing its way through the engine. Beer will only be allowed through the valve if there is a negative pressure (ie pumping) on the engine side.

So I got one, and it does work a treat. Now we can open the tap on the keg at the start of the evening and friends can pop down to the “cellar” (ok, garage) and draw their own pint whenever they wish.

There was one slight complication in the whole affair however. That was in the size of the connections on the valve. One side (the engine side) is 1/2 inch (which is the size of the keg tap and also the back of the beer engine). But the keg side of the valve is a 3/8 inch “push fit” connection. I have to thank my friend David for sorting this problem for me. In his brewery he had a box of dozens of different types of pipe connectors and converters and he soon found what I needed (the grey bit on top of the valve in the photo below). That saved me ordering things blind on eBay and hoping for the best!

IMG_4191IMG_4190IMG_4192

Sunday 22 June 2014

Making Mozzarella

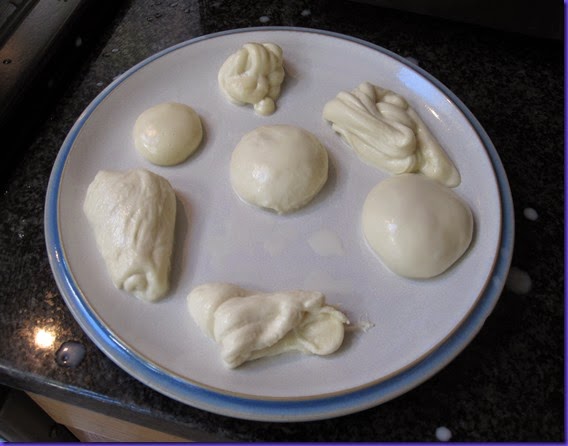
A few weeks ago we had a go at making some mozzarella cheese, following the procedure I learnt on my cheese making course.

The process is fairly simple, but it does require rennet and citric acid, so you can’t do it with just what you have in the kitchen at home like the lactic cheese.

What you do is heat the milk to 31C and add the citric acid and rennet. Then you gently heat (over a water bath) to 40.5C and leave the milk to separate.

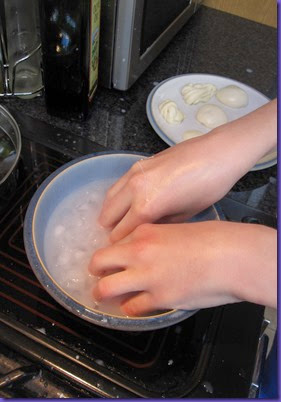
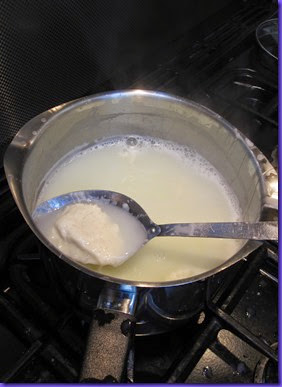
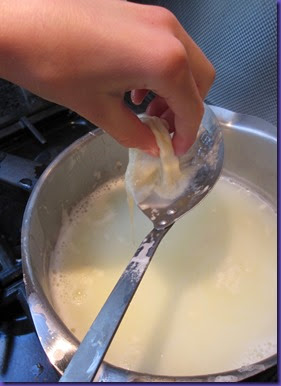
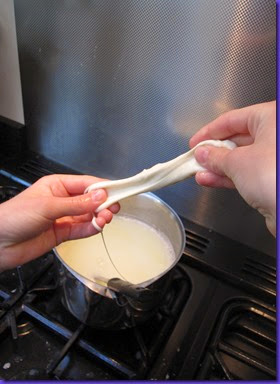
Once separated, you scoop the curds out with a slotted spoon and allow them to drain in a sieve. That’s the standard bit. The bit that is different about mozzarella is that the curds are then briefly cooked in hot whey, which makes them stringy and stretchy. This gives the stringy cheese you use on pizzas.

What you do is heat the whey to 80C, then dip small blobs of curd into the whey for 30 seconds or so. The stretchy curds can then be shaped into mozzarella balls or pulled out into cheese strings. This is great fun for the kids!

The photos below show how we got on.

IMG_3942IMG_3943IMG_3944IMG_3947IMG_3949IMG_3950IMG_3952IMG_3953IMG_3954IMG_3955IMG_3956IMG_3957IMG_3958IMG_3959IMG_3963IMG_3964